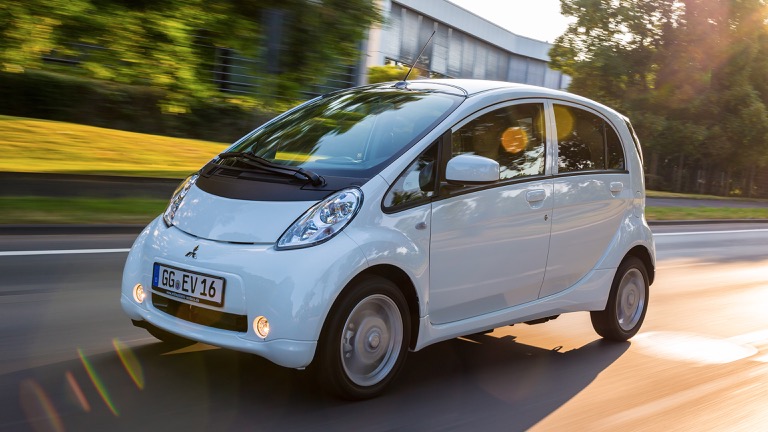
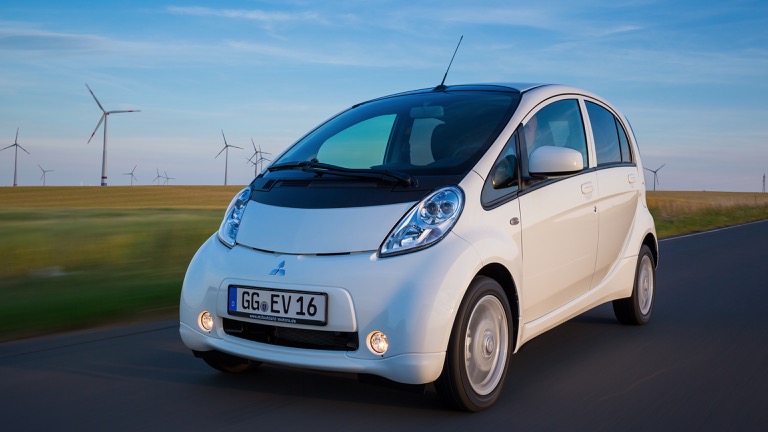
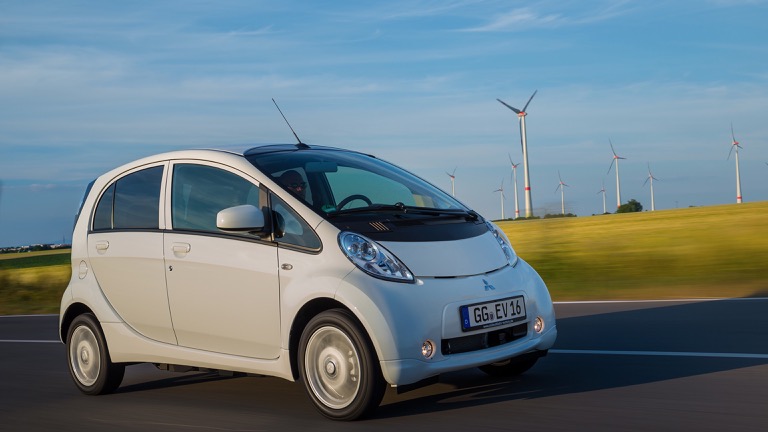
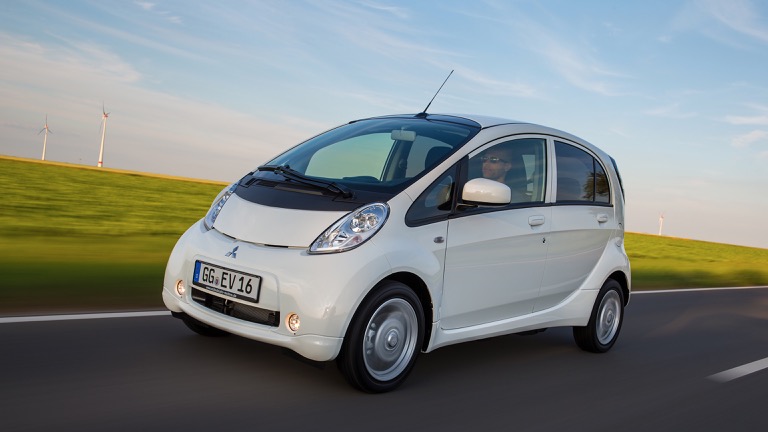
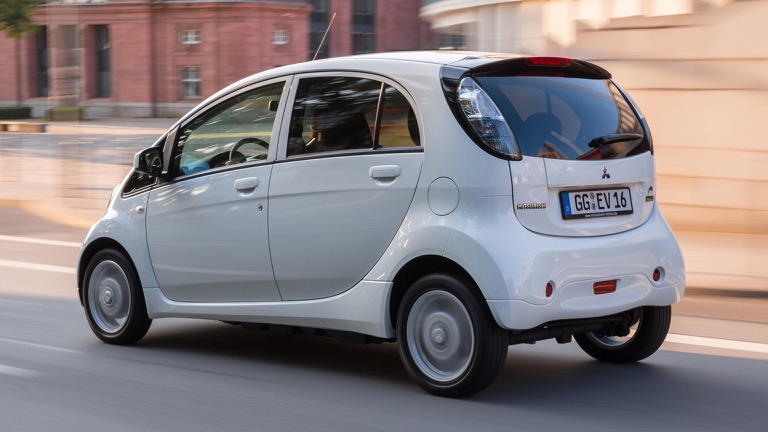
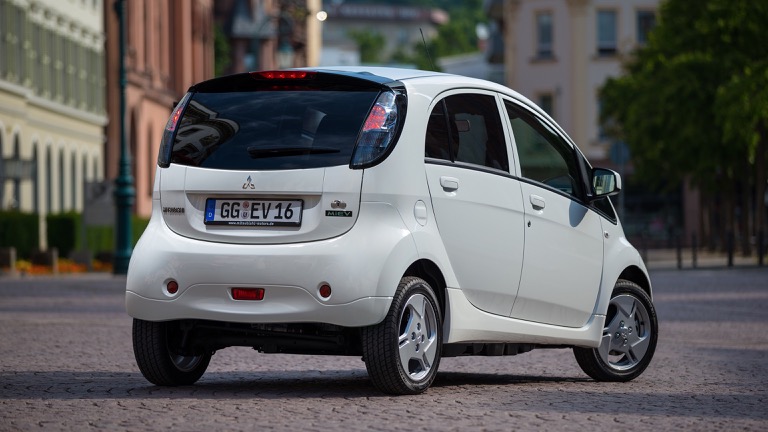
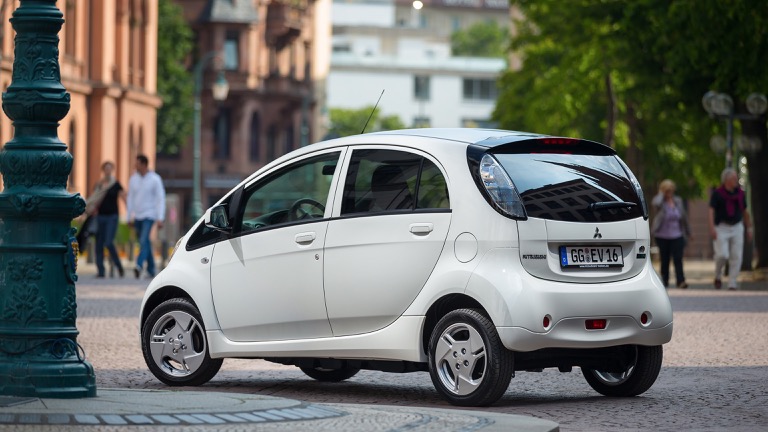
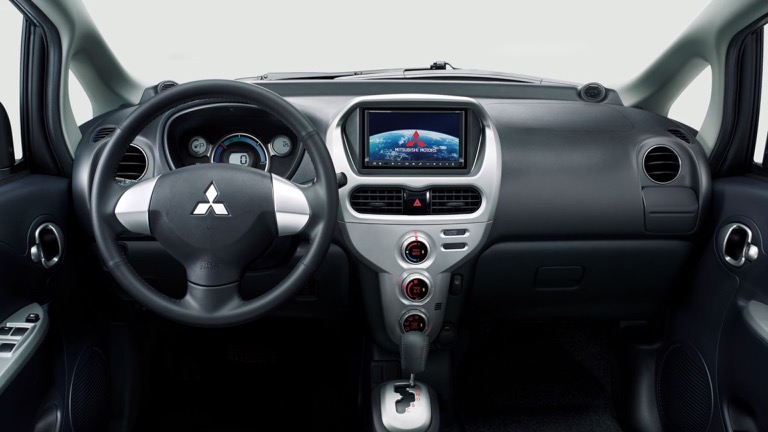
Mitsubishi i-MiEV 2015
Range
85 km
Battery
14.5 kWh
Efficiency
171 Wh/km
Weight
1160 kg
| Real Range | Between 60 - 135 km | ||
|---|---|---|---|
| City - Cold Weather | 90 km | ||
| City - Mild Weather | 135 km | ||
| Highway - Cold Weather | 60 km | ||
| Highway - Mild Weather | 75 km | ||
| Combined - Cold Weather | 70 km | ||
| Combined - Mild Weather | 100 km |
Indication of real-world range in several situations. Cold weather: 'worst-case' based on -10°C and use of heating. Mild weather: 'best-case' based on 23°C and no use of A/C. For 'Highway' figures a constant speed of 110 km/h is assumed. The actual range will depend on speed, style of driving, weather and route conditions.
| Performance | |||
|---|---|---|---|
| Acceleration 0 - 100 km/h | 15.9 sec | ||
| Total Power | 47 kW (64 PS) | ||
| Top Speed | 130 km/h | ||
| Total Torque * | 180 Nm | ||
| Electric Range | 85 km | ||
| Drive | Rear | ||
| Battery | |||
|---|---|---|---|
| Nominal Capacity * | 16 kWh | ||
| Useable Capacity* | - | ||
| Battery Type | Lithium-ion | ||
| Cathode Material | No Data LFP | ||
| Number of Cells | - | ||
| Pack Configuration | No Data | ||
| Architecture | - | ||
| Nominal Voltage | - | ||
| Warranty Period | - | ||
| Form Factor | No Data | ||
| Warranty Mileage | - | ||
| Name / Reference | No Data | ||
| Charging | |||
|---|---|---|---|
| Home / Destinationging | |||
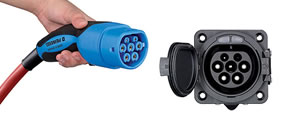
| Charge Port | Type 1 | ||
| Port Location | Right Side - Rear | ||
| Charge Power | 4 kW AC | ||
| Charge Time (0->85) | 4h45min | ||
| Charge Speed | 18 km/h | ||
| Fast Charging | |||
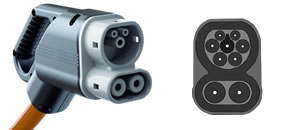
| Charge Port | CHAdeMO | ||
| Port Location | Left Side - Rear | ||
| Charge Power (max) | 40 kW DC | ||
| Charge Power (10-80%) | 30 kW DC | ||
| Charge Time (42->336 km) | 21 min | ||
| Charge Speed | 170 km/h | ||
| Autocharge Supported | No | ||
| Plug & Charge | |||
| Plug & Charge Supported | No | ||
| Supported Protocol | - | ||
| Battery Preconditioning | |||
| Preconditioning Possible | No | ||
| Automatically using Navigation | No | ||
| Bidirectional Charging (V2X / BPT) | |||
|---|---|---|---|
| Vehicle-to-Load (V2L) | |||
| V2L Supported | No | ||
| Max. Output Power | - kW AC | ||
| Exterior Outlet(s) | - | ||
| Interior Outlet(s) | - | ||
| Vehicle-to-Home (V2H) | |||
| V2H via AC Supported | No | ||
| Max. Output Power | - | ||
| V2H via DC Supported | No | ||
| Max. Output Power | - | ||
| Vehicle-to-Grid (V2G) | |||
| V2G via AC Supported | NO | ||
| Max. Output Power | - | ||
| V2G via DC Supported | No | ||
| Max. Output Power | - | ||
| Energy Consumption | |||
|---|---|---|---|
| EVDB Real Range | |||
| Range | 85 km | ||
| Vehicle Consumption | 171 Wh/km | ||
| CO2 Emissions | 0 g/km | ||
| Vehicle Fuel Equivalent | 1.9 /100km | ||
| WLTP Ratings (TEL) | |||
| Range | - | ||
| Rated Consumption | - | ||
| Vehicle Consumption | - | ||
| CO2 Emissions | 0 g/km | ||
| Real Fuel Equivalent | - | ||
| Vehicle Fuel Equivalent | - | ||
| WLTP Ratings (TEH) | |||
| Range | - | ||
| Real Consumption | - | ||
| Vehicle Consumption | - | ||
| CO2 Emissions | 0 g/km | ||
| Real Fuel Equivalent | - | ||
| Vehicle Fuel Equivalent | - | ||
TEL = Test Energy Low | TEH = Test Energy High Rated = official figures as published by manufacturer. Rated consumption and fuel equivalency figures include charging losses. Vehicle = calculated battery energy consumption used by the vehicle for propulsion and on-board systems.
| Real Energy Consumption | Between 107 - 242 Wh/km | ||
|---|---|---|---|
| City - Cold Weather | 161 Wh/km | ||
| Highway - Cold Weather | 242 Wh/km | ||
| Combined - Cold Weather | 207 Wh/km | ||
| City - Mild Weather | 107 Wh/km | ||
| Highway - Mild Weather | 193 Wh/km | ||
| Combined - Mild Weather | 145 Wh/km |
Indication of real-world energy use in several situations. Cold weather: 'worst-case' based on -10°C and use of heating. Mild weather: 'best-case' based on 23°C and no use of A/C. For 'Highway' figures a constant speed of 110 km/h is assumed. The energy use will depend on speed, style of driving, climate and route conditions.
| Dimensions and Weight | |||
|---|---|---|---|
| Length | 3475 mm | ||
| Width | 1475 mm | ||
| Width with mirrors | - | ||
| Height | 1610 mm | ||
| Wheelbase | 2550 mm | ||
| Weight Unladen (EU) | 1160 kg | ||
| Gross Vehicle Weight (GVWR) | 1450 kg | ||
| Max.Payload | 340 kg | ||
| Cargo Volume | 166L | ||
| Cargo Volume Max | 860 L | ||
| Cargo Volume Frunk | - | ||
| Roof Load | - | ||
| Tow Hitch Possible | No Data | ||
| Towing Weight Unbraked | - | ||
| Towing Weight Braked | - | ||
| Vertical Load Max | - | ||
| Miscellaneous | |||
|---|---|---|---|
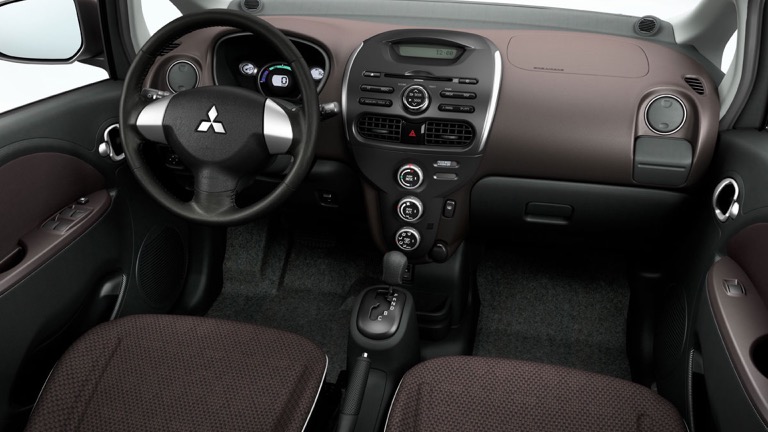
| Seats | 4 people | ||
| Isofix | No Data mm | ||
| Turning Circle | 9 mm | ||
| Platform | No Data | ||
| EV Dedicated Platform | No Data | ||
| Car Body | Hatchback | ||
| Segment | A - Mini | ||
| Roof Rails | No | ||
| Heat pump (HP) | No Data | ||
| HP Standard Equipment | No Data | ||
* = estimated value. Average energy consumption and range based on moderate drive style and climate. Real-life values may differ significantly. Pricing information might not be actual for some regions. No rights can be derived from the information on this site.
Home and Destination Charging (0 -> 100%)
Charging is possible by using a regular wall plug or a charging station. Public charging is always done through a charging station. How fast the EV can charge depends on the charging station (EVSE) used and the maximum charging capacity of the EV. The table below shows all possible options for charging the Mitsubishi i-MiEV 2015 Long Range Dual Motor. Each option shows how fast the battery can be charged from empty to full.
Europe
Charging an EV in Europe differs by country. Some European countries primarily use 1-phase connections to the grid, while other countries are almost exclusively using a 3-phase connection. The table below shows all possible ways the Mitsubishi i-MiEV 2015 Long Range Dual Motor can be charged, but some modes of charging might not be widely available in certain countries.
| Type 2 (Mennekes - IEC 62196) | |||||||||
|---|---|---|---|---|---|---|---|---|---|
 |
|||||||||
| Charging Point | Max.Power | Power | Time | Rate | |||||
| Wall Plug(2.3 kW) | 230V / 1x10A | 2.3 kW | 7h30min | 11 km/h | |||||
| 1-phase 16A (3.7 kW) | 230V / 1x16A | 3.7 kW | 4h45min | 18 km/h | |||||
| 1-phase 32A (7.4 kW) | 230V / 1x32A | 7.4 kW | 4h45min | 18 km/h | |||||
| 3-phase 16A (11 kW) | 400V / 3x16A | 11 kW | 4h45min | 18 km/h | |||||
| 3-phase 32A (22 kW) | 400V / 3x16A | 11 kW † | 4h45min | 18 km/h | |||||
† = Limited by on-board charger, vehicle cannot charge faster.
Fast Charging (10 -> 80%)
Rapid charging enables longer journeys by adding as much range as possible in the shortest amount of time. Charging power will decrease significantly after 80% state-of-charge has been reached. A typical rapid charge therefore rarely exceeds 80% SoC. The rapid charge rate of an EV depends on the charger used and the maximum charging power the EV can handle. The table below shows all details for rapid charging the Mitsubishi i-MiEV 2015.
- Max. Power: maximum power provided by charge point
- Avg. Power: average power provided by charge point over a session from 10% to 80%
- Time: time needed to charge from 10% to 80%
- Rate: average charging speed over a session from 10% to 80%
| Combined Charging System (CCS Combo 2) | |||||||||
|---|---|---|---|---|---|---|---|---|---|
 |
|||||||||
| Charging Point | Max.Power | Power | Time | Rate | |||||
| CCS (50 kW DC) | 50 kW | 45 kW † | 21 min | 170 km/h | |||||
| Supercharger v2 Shared (75 kW DC) | 75 kW | 65 kW † | - | - | |||||
| Supercharger v2 (150 kW DC) | 150 kW † | 100 kW † | - | - | |||||
| CCS (175 kW DC) | 170 kW † | 108 kW † | - | - | |||||
| Supercharger v3 (250 kW DC) | 170 kW † | 108 kW † | - | - | |||||
| CCS (350 kW DC) | 170 kW † | 108 kW † | - | - | |||||
| This vehicle supports Autocharge This vehicle does not support Plug & Charge |
|||||||||
† = Limited by charging capabilities of vehicle Autocharge: allows for automatic initiation of a charging session at supported CCS charging stations. Plug & Charge: allows for automatic initiation of a charging session at supported CCS charging stations in accordance with ISO 15118. Actual charging rates may differ from data shown due to factors like outside temperature, state of the battery and driving style.